Dreaming of an elegant wooden herringbone floor? Good news: this timeless classic can be installed entirely by yourself! With a bit of preparation and the right materials, you can transform your space into a true interior gem. So put on your DIY outfit, because we’ll guide you step by step.
Step 1: Choose your materials and tools
Everything starts with… proper preparation. Choose a high-quality herringbone floor: durable, scratch-resistant, and easy to install yourself thanks to a handy click system. Also decide whether you want to install the floor floating or glued. Gluing your floor helps dampen sound in the room and eliminates the need for transition profiles between different spaces. However, a glued installation is more expensive than a floating installation.
What do you need?
- Herringbone planks: choose the colour and finish that match your style
- Underlay: check in advance whether you need it (see step 3)
- Spacers for an expansion gap
- Measuring tape, pencil, square
- Jigsaw to cut panels to size
- Tapping block and hammer for secure connections
- Gloves and safety glasses
Step 2: Prepare the room properly
Good preparation is half the battle! Make sure the subfloor is clean, dry, and level. Remove old flooring and fix any unevenness with levelling compound, because a flat base is crucial for a perfect result. Let the planks of your new floor acclimatise for at least 48 hours in the room, so they can adjust to temperature and humidity. Usually, that’s between 15 and 27°C and humidity between 40 and 60%, but always check the installation instructions, as this may vary per floor.

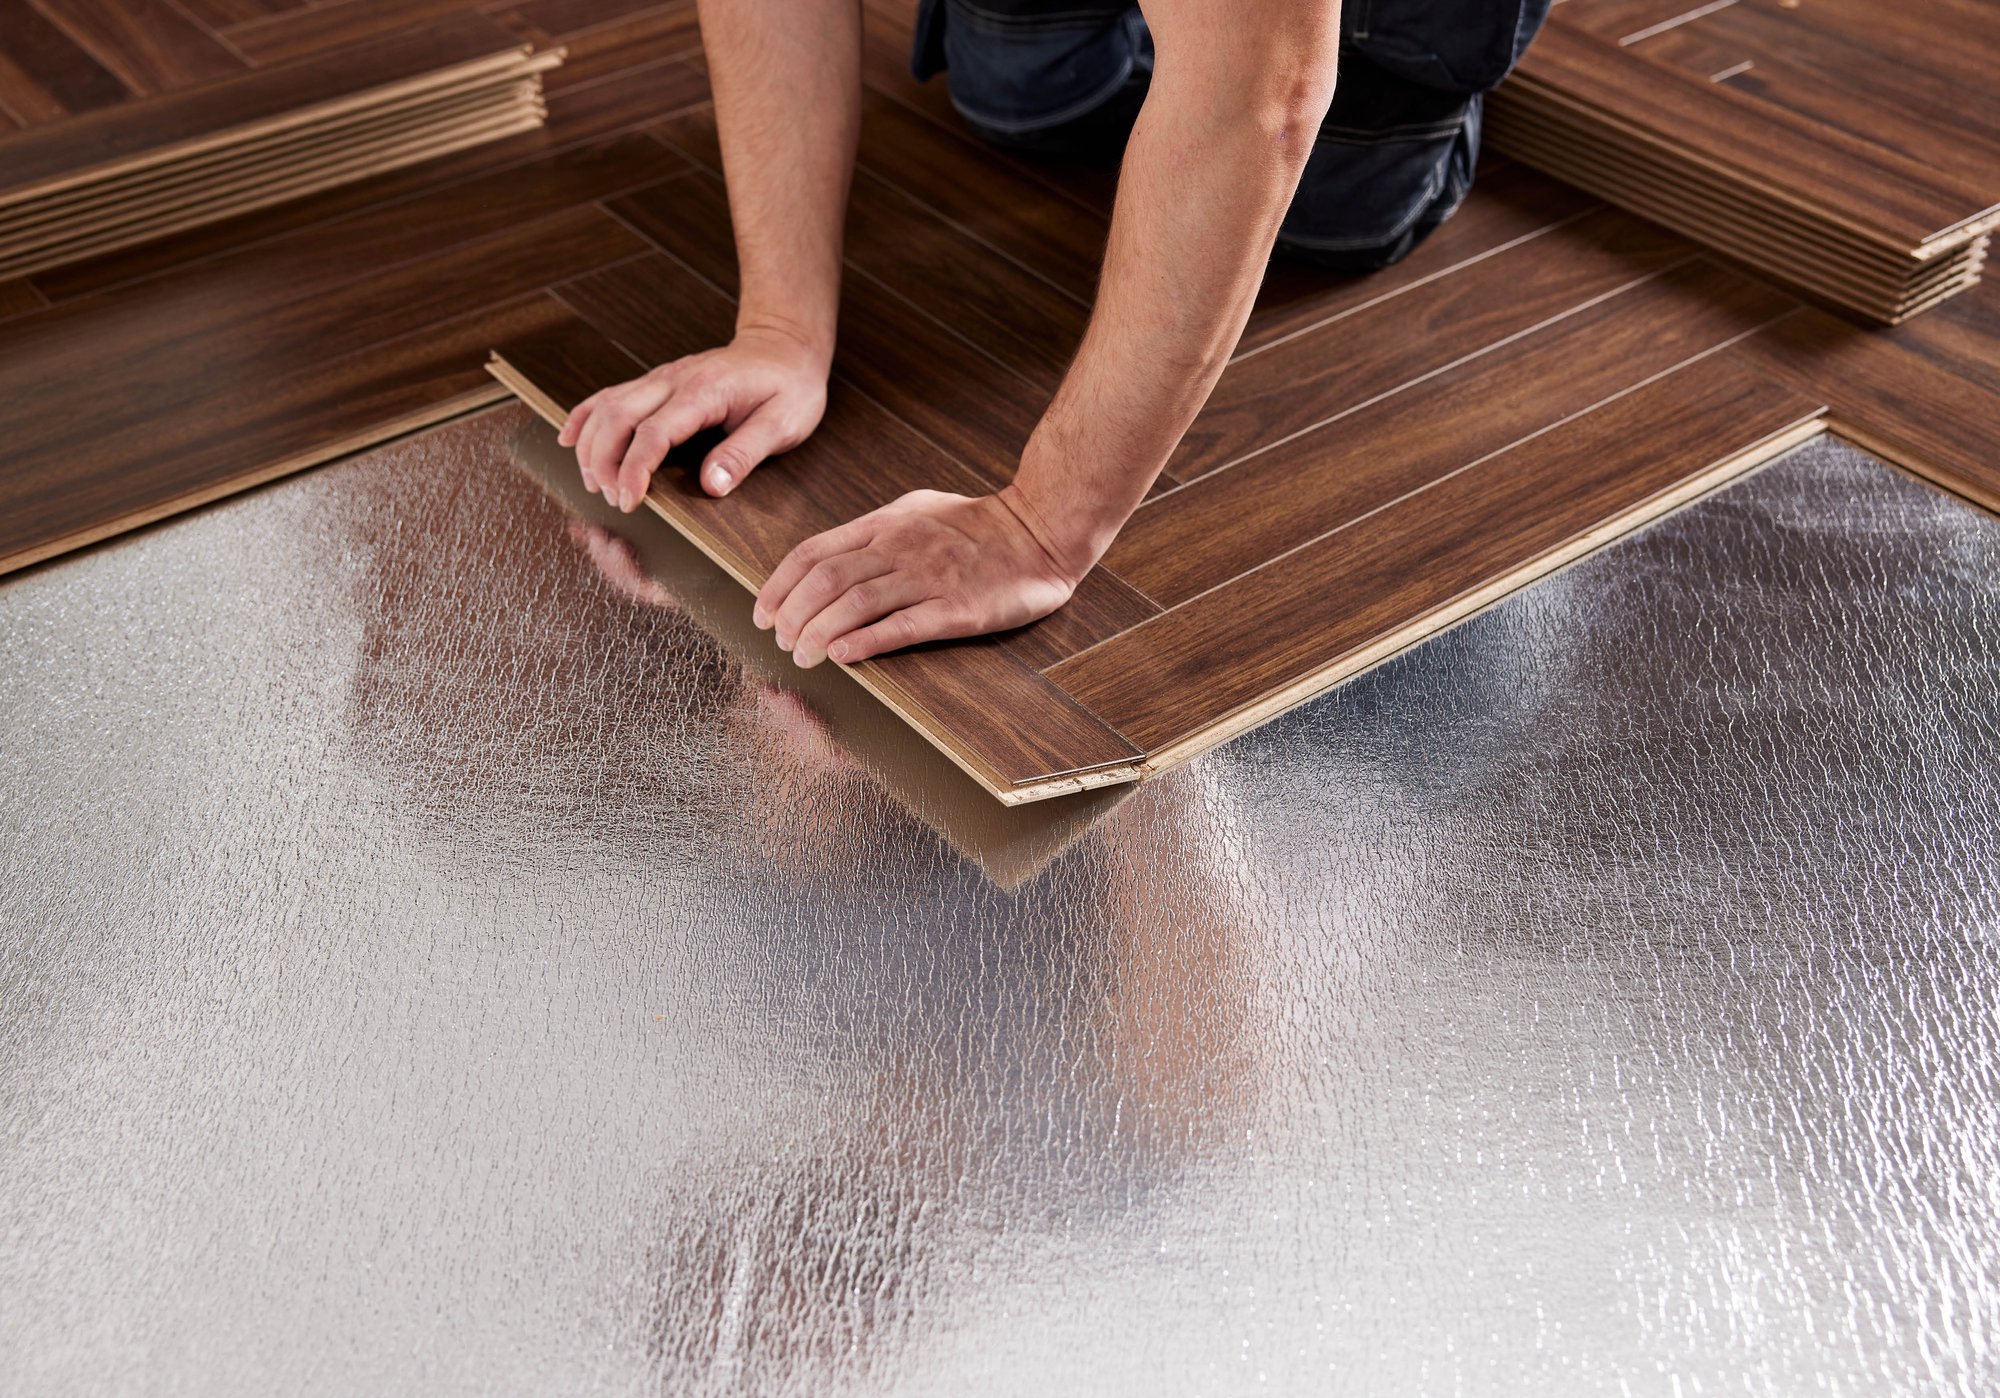
Step 3: Lay the underlay
Check in advance whether your planks already have an integrated underlay, as is the case with some vinyl floors. If not, order the underlay best suited to your chosen floor. The type of installation also matters: for glued installation, you can replace the underlay with a layer of glue if the subfloor is flat and even. If the existing subfloor is not suitable, a floating installation may be a better option, provided you use the right underlay.

Do you need a separate underlay for a floating installation? Then it’s best to get advice from the supplier where you bought your floor. The right underlay is excellent at reducing noise and conducts temperature well in combination with underfloor heating. Cut the underlay to size with a utility knife.
Step 4: Determine the centre of your room
Measure twice, cut once. For a successful result, measure the room and determine the exact centre point. Then draw a guideline in the middle of the room using a measuring stick and pencil. Use a square to ensure a perfect 90-degree angle. That way, you’ll be sure to lay the perfect herringbone pattern.
Step 5: Lay the floor plank by plank
Time to get started and lay your planks. Always consult the installation instructions before you begin, as different herringbone types require different installation methods. Follow the steps carefully — a good start makes laying your floor a breeze. Don’t forget to place spacers along the walls to allow room for the floor’s natural movement.
Tip: Check that the planks are securely connected and use a tapping block to gently tap them into place.

Step 6: Cut planks to size
Reached the wall? Use a jigsaw, utility knife or mitre saw, depending on the product, to cut everything perfectly to size. Measure carefully and mark the cutting pattern on the panel before sawing. Take the expansion gap into account and work precisely to ensure a clean finish.
Step 7: Finish with skirting boards
Skirting boards provide the finishing touch and hide the expansion gaps. Choose a style that matches your floor and interior. Think of sleek white skirting boards for a modern look or dark skirting boards for a warm contrast.
Want to follow an installer step by step?
Watch this handy instruction video for a floating herringbone floor.


.jpg?width=4125&height=6000&name=albatre%20herringbone%20calm_swf_v4_504x84_berryalloc_rsh_01%20(1).jpg)


.jpg?width=300&name=Overview%20image%20blog%20home_Myfloorstyle_sunset%20boulevard(398x344).jpg)