Do you dream of a new floor and want to tackle this job yourself? Amazing! The first question that you should ask yourself is whether you will be keeping or removing the existing flooring? And did you know in certain regions you can benefit from a (government) grant, if you decide to invest in flooring insulation? Don’t miss out, be sure to check for this in your own region. The following steps will guide you through laying your own floor.
Step 1: Gather the right information and select your floor
A water-resistant floor in the bathroom, parquet in the living area, a warm floor in the bedroom: the options are endless. Look for information or consult a flooring specialist to make sure you know everything needed to install the floor of your dreams. Does your supplier have an installation video or guide available? Be sure to consult these before laying your floor. For example, do you plan on putting a heavy piano in the area? Keep that in mind when considering the floor load capacity.
Ready to order your floor? Add at least 10% to the total surface area to compensate for waste and losses that occur during installation of your floor.
Step 2: What about your existing floor?
If you are renovating, you can choose between two options: removing the old floor or laying a new one on top of the old one. Whatever you choose, starting with a level surface is key. The thinner your new flooring, the bigger the impact of uneven surfaces. If your old flooring is uneven, it may be easier to remove it altogether instead of trying to level it. The same goes for woodworm: if it has made its way into your wooden flooring, it is best to remove the floor.
Option A - Laying a new floor on top of the old one
Is your current flooring in good condition and level? In this case it is perfectly possible to install new parquet flooring, vinyl planks &tiles, high pressure floors, strong wood floors or laminate flooring on top of the existing floor. Do keep in mind that doing so will raise the floor slightly, which means you may have to trim the doors as well.
In this scenario, you benefit from fewer working hours, you can avoid major works with waste, and you could even keep all the furniture in the room if you tackle the flooring one half at a time.
Option B - Remove the old floor and replace it with a new one
Removing parquet flooring or old carpet can cause quite a lot of dust. Put up a plastic sheet to make sure the dust doesn’t settle in the adjacent rooms. Take the old flooring and boards to a local recycling centre. More working hours will be needed, but you’ll be tackling things more thoroughly. This scenario also allows you to install floor insulation (step 4) and underfloor heating (step 5).
Step 3: Level base
We don’t want a sagging floor or a floor with puddles after cleaning. To achieve the most beautiful and sustainable results possible, it is best to start with a floor that is level. If you keep your floor, you can start by adding a levelling layer. This will help you even out minor imperfections, little holes, and small crevices.
Did you remove a wooden floor that was on top of wooden beams? Prep your new wooden floor by levelling the subfloor. This is how: put a board measuring about 1.5 m on top of the transverse beams. If you notice a height difference, raise the beam that sits too low. By doing so, you level all the beams, which will help you lay a floor that is level.
Step 4: Damp-free and insulated (optional)
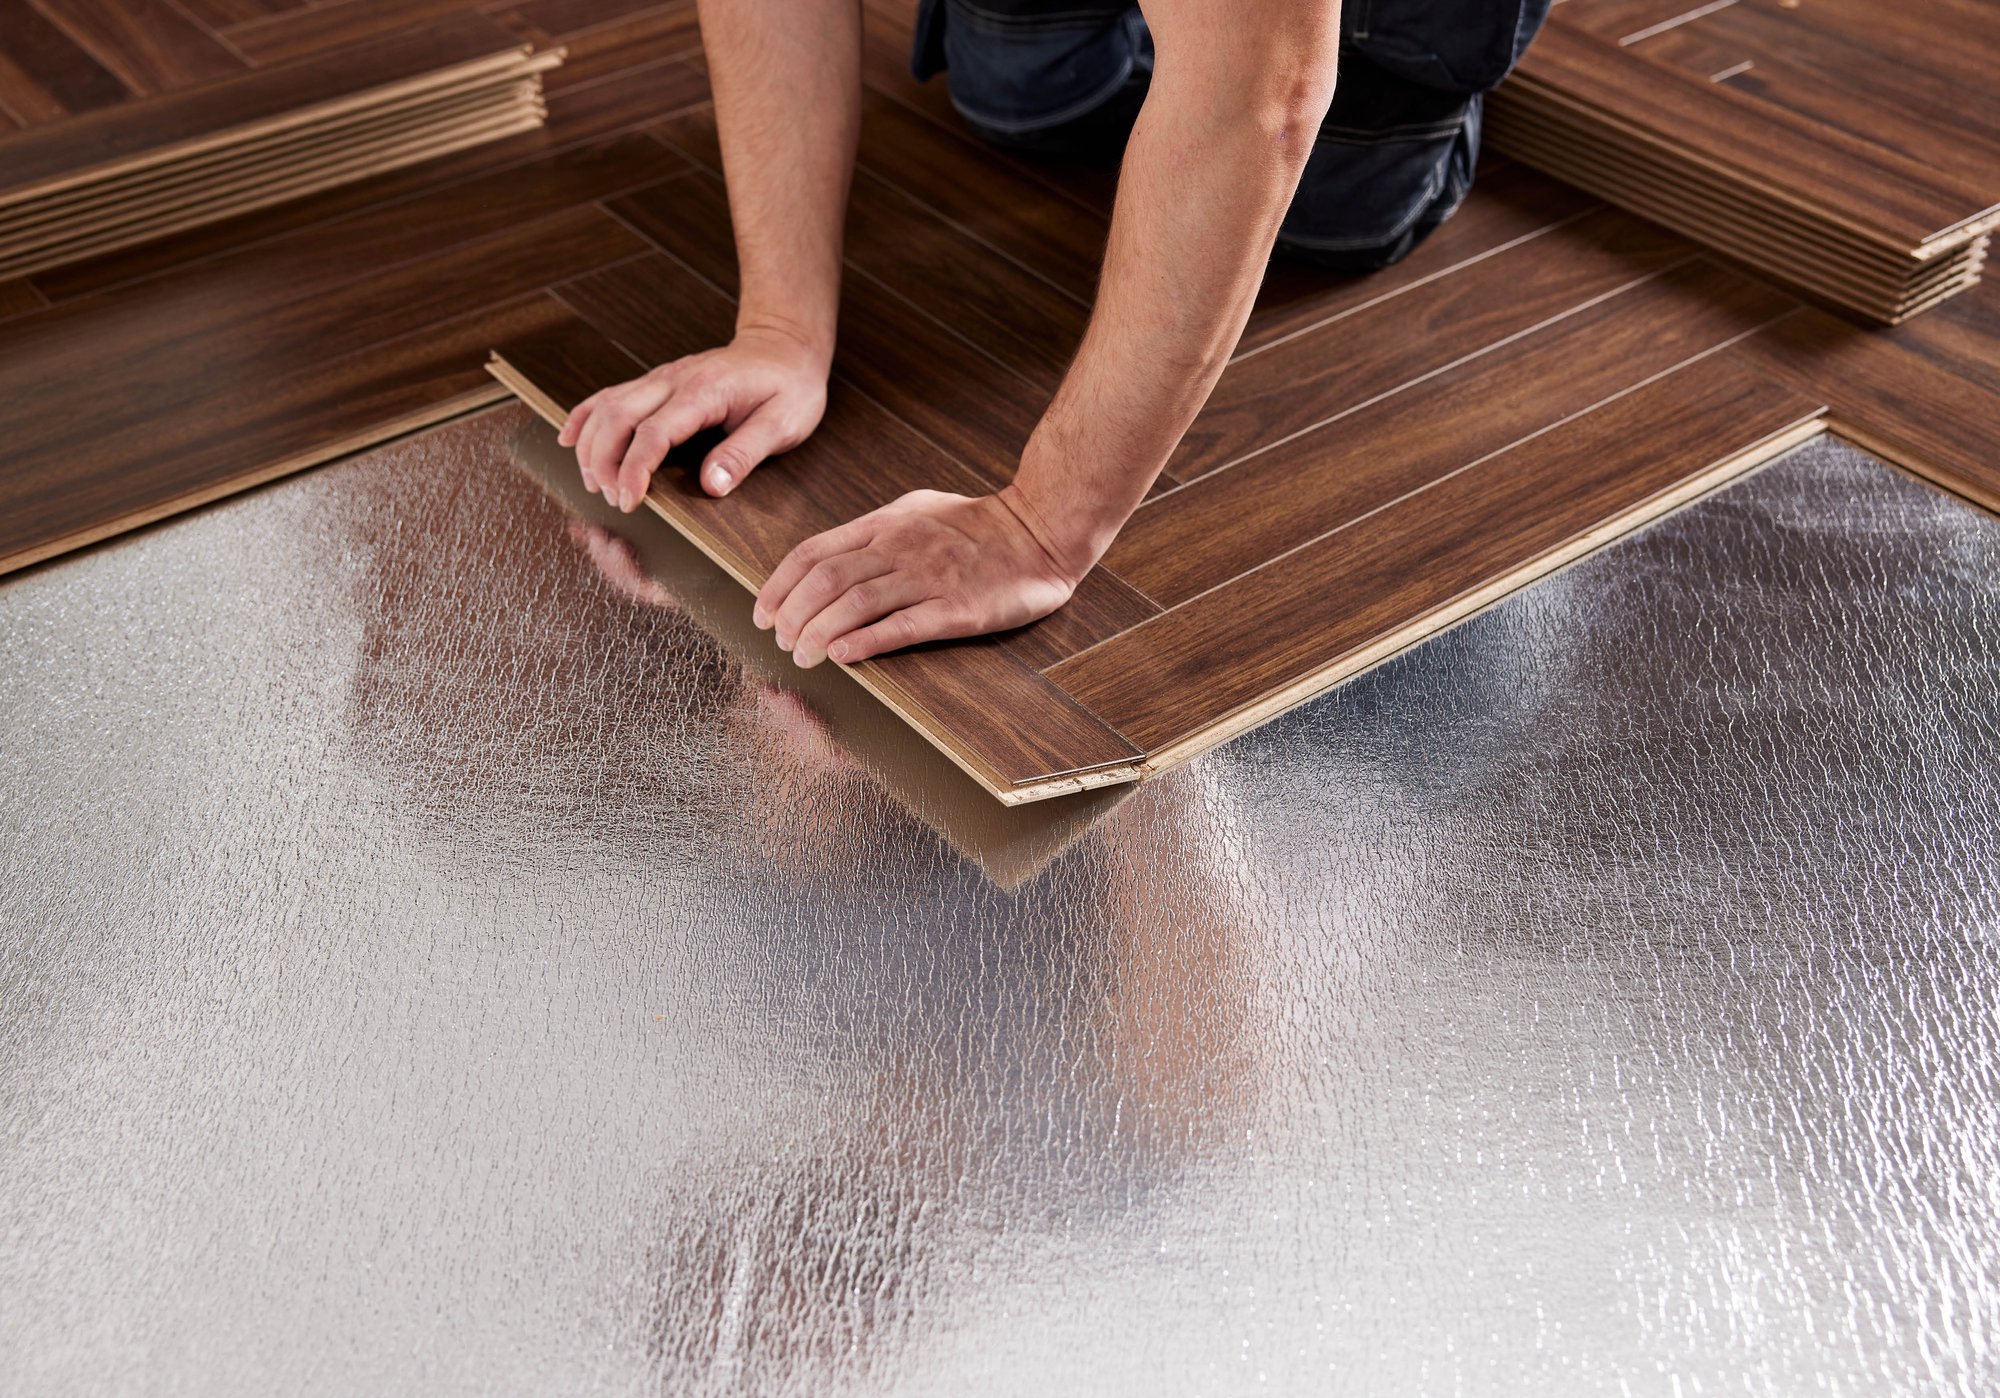
Installing a vapour barrier over your subfloor stops rising damp from affecting your new floor. A vapour barrier is a thin, water-resistant sheet. This can be useful if, for example, you have a room that is above a damp room. Additionally, it may be a good idea to insulate your floor, especially if it’s a non-heated room, such as a basement. This insulation layer keeps the warmth in the room, feels nicer to walk on, and has a sound-absorbing effect. In turn, an insulation layer is quite useful if you live in an apartment or wish to reduce the overall noise at home.
Don't feel like installing an underlay? Did you know that some floors have an integrated subfloor (pad attached)? This is useful for people who do not want to spend time selecting, calculating and installing the right underlay and who want to install their floor quickly and easily.
Step 5: Underfloor heating?
We highly recommend underfloor heating. The heat is spread evenly across the entire floor. You don’t need ugly radiators and the floor always feels comfortable, even when walking barefoot during winter. And when it’s hot outside, floor cooling is more than welcome. Certain types of high pressure floors, vinyl planks & tiles, and laminate flooring can easily be installed on top of underfloor heating or cooling systems.
Step 6: Acclimatise your new floor
It is recommended that you allow your new boards to acclimatise in the intended area for about 48 hours. You don’t need to unpack them. Simply stack them crosswise in the middle of the room. The floorboards contain wood or wooden fibres that are prone to minor expanding and contracting.

Step 7: Laying and finishing your floor
You have probably already considered the direction of your floorboards. Expert tip: lay the shortest end of the laminate flooring towards the dominant light source, and perpendicular to the direction of movement. If you cannot combine these two principles, lay them as you wish. In case of a wooden floor underneath, we highly recommend installing your new floor perpendicular to the direction of the old floor. Don’t underestimate how much time is needed for finishing oblique corners, radiator legs, and door posts. The devil is in the detail!
Step 8: Skirting boards and profiles
Skirting boards and profiles add the finishing touch to your floor. Do you opt for baseboards that match your floor? This will make your floor area look a bit bigger. Or do you opt for white (paintable) skirting boards instead? They will optically lengthen your walls. Paint the boards in advance in the colour of your walls: this makes things a lot easier.
All of the above points are also nicely summarized in the video below.


.jpg?width=300&name=Overview%20image%20blog%20home_Myfloorstyle_gyant%20xl%20warm%20natural%20skirting(398x344).jpg)
.jpg?width=300&name=Overview%20image%20blog%20home_Myfloorstyle_excellence%20plus%20acc(398x344).jpg)
